Menu and Status Bar
Menu Changes
-
Open up the glade2.glade file and save as glade3.glade.
Your project should look like this now.
-
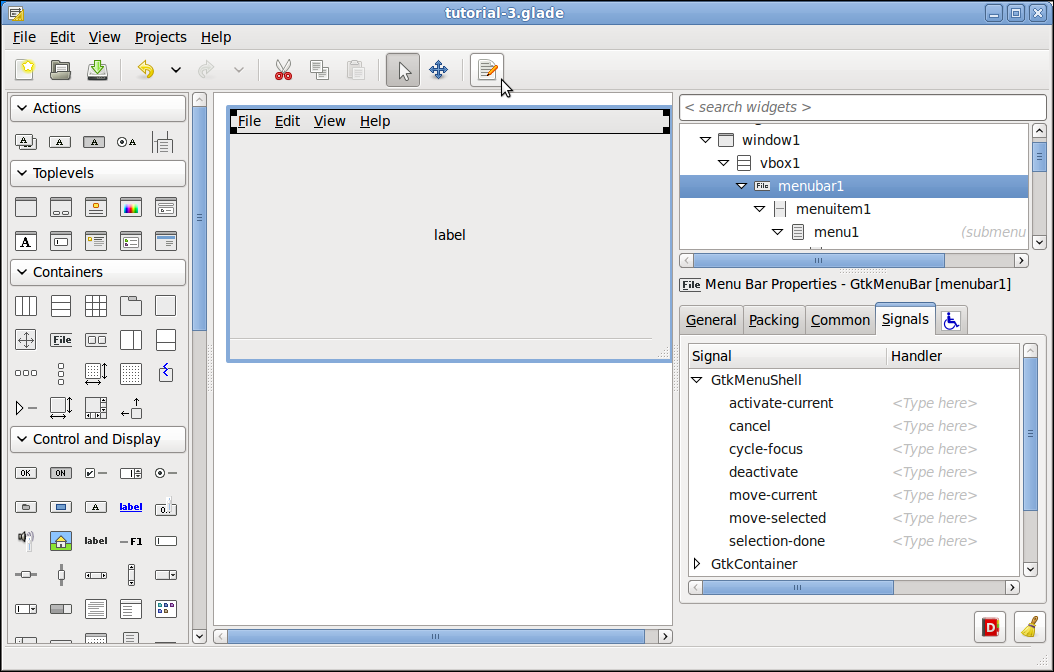
The first thing we will do is click on the menu bar then click on the editor on the button bar to add our menu items. This will bring up the Editor, click on the Hierarchy tab.
-
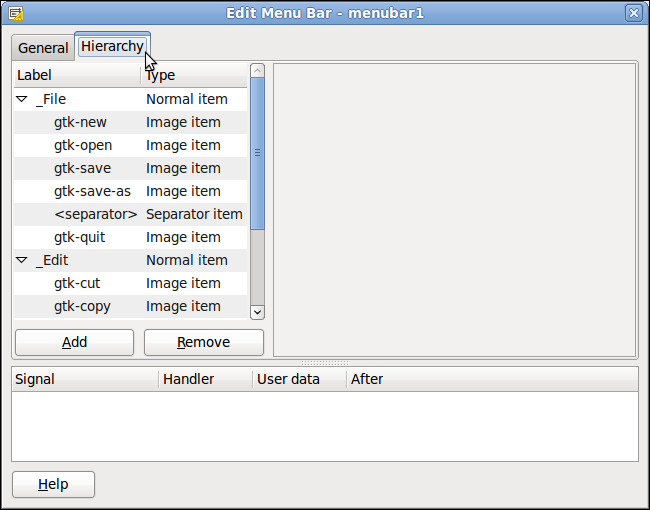
Scroll down to the _View Label in the Hierarchy tab. Right click on the _View label and left click on Add child Image item item. Now you have added a new menu item.
Click on Name: imagemenuitem5 and change to push_status the press the Enter key. Scroll down to Custom label and image: and select it. Change the Label: to Push Status.
the Menu Bar Editor should look like this now.
-
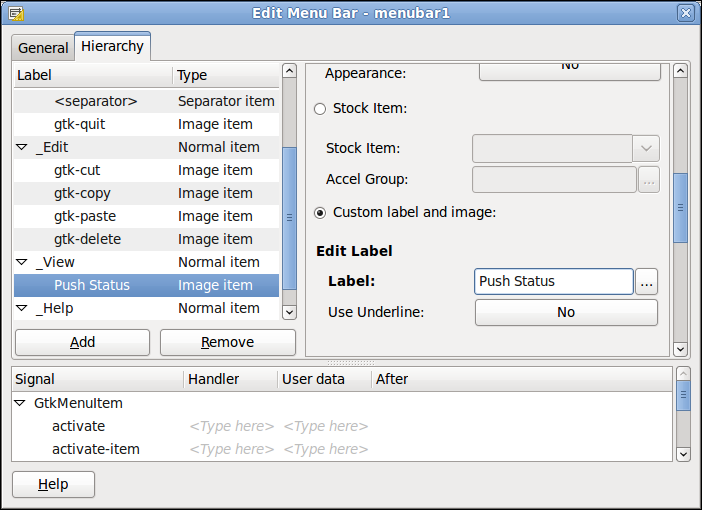
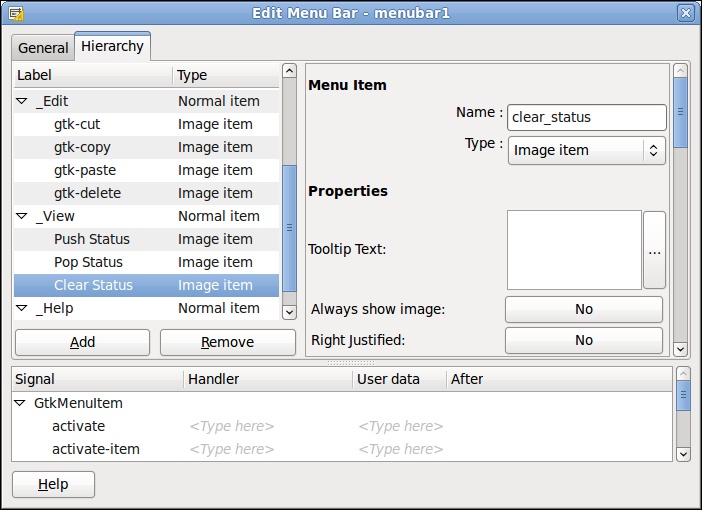
Repeat the above to add a second menu item and change the Name: to pop_status and the custom label to Pop Status. Add one more and name it 'Clear Status.
Your project should look like this now.
-
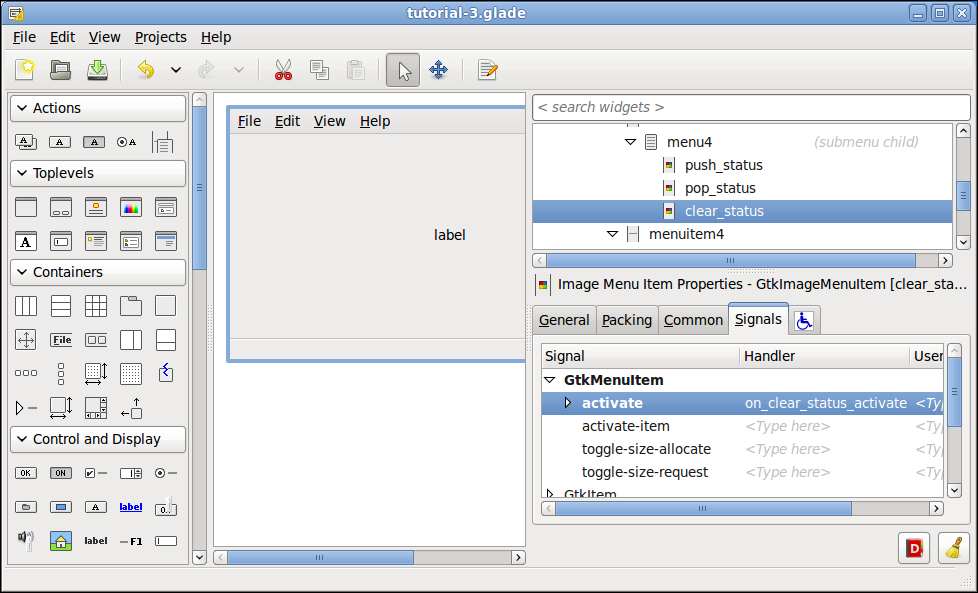
Close the Edit Menu Bar and click on push_status in the Inspector. In the Signals tab add to the activate signal the on_push_status_activate Handler and don’t forget to press the Enter key to save your selection. Repeat for the pop_status and clear_status menu items.
Your project should look like this now.
-
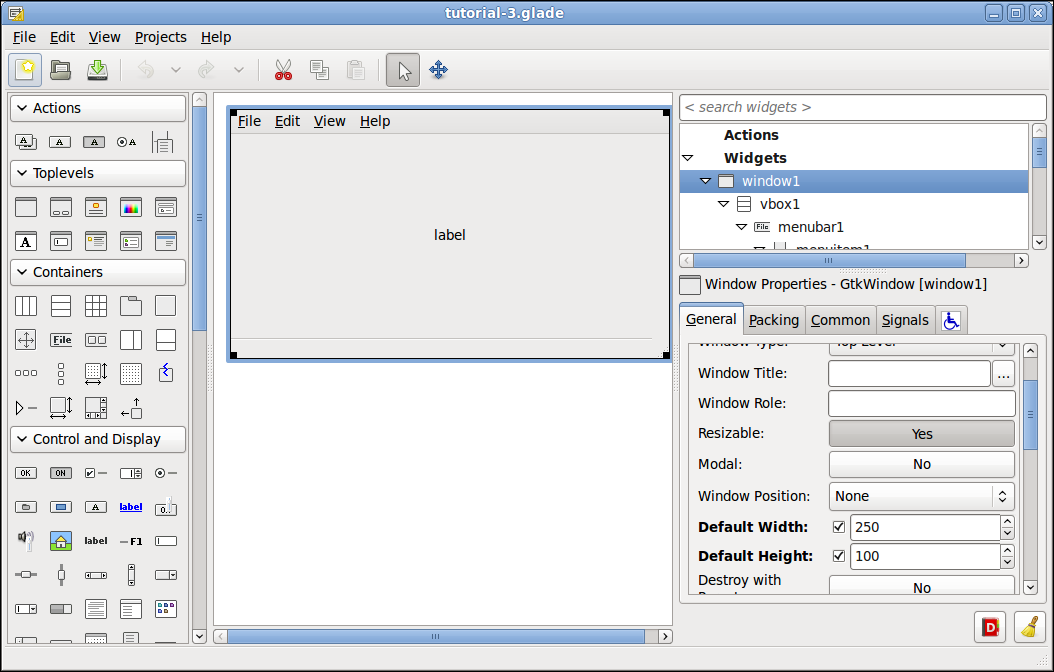
One last thing to make the window a bit bigger in the General tab for window1 change the Default Width: to 250 and the Default Height: to 100.
Your project should look like this now.
Ok save the file as 'tutorial-3.glade and we are done.