Gtk Entry Widget
GtkEntry Widget
-
Save tutorial-3.glade as tutorial-4.glade and we will make some changes to it.
-
First remove the label widget from the center of the vertical box container.
-
Next add a vertical box to the center with 2 items.
-
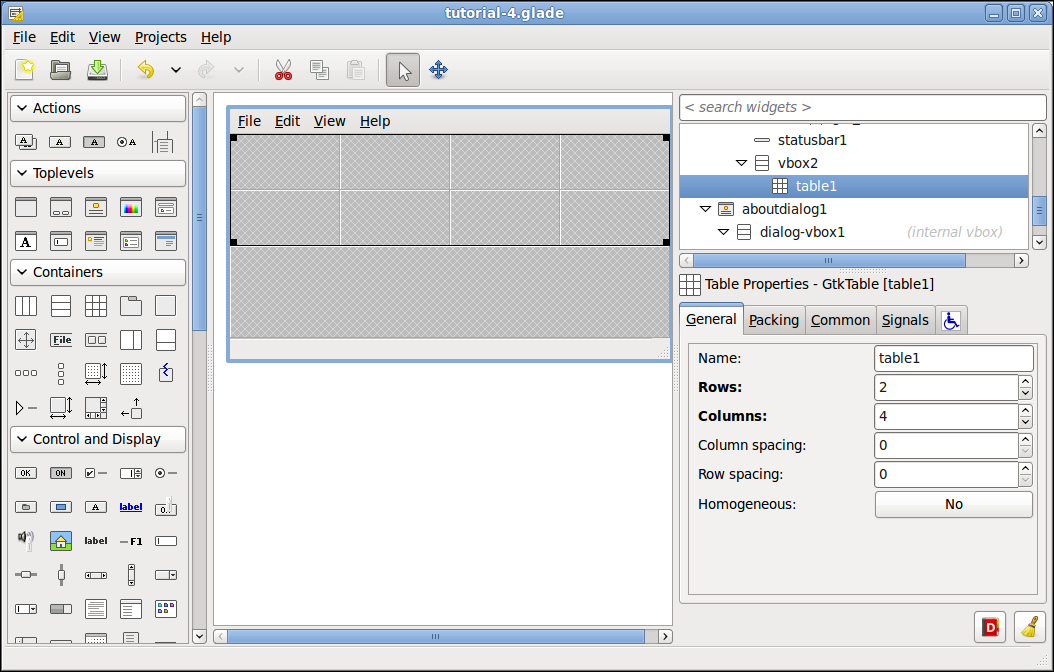
Next in the top box add a table with 2 rows and 4 columns.
Your project should look like this now.
-
-
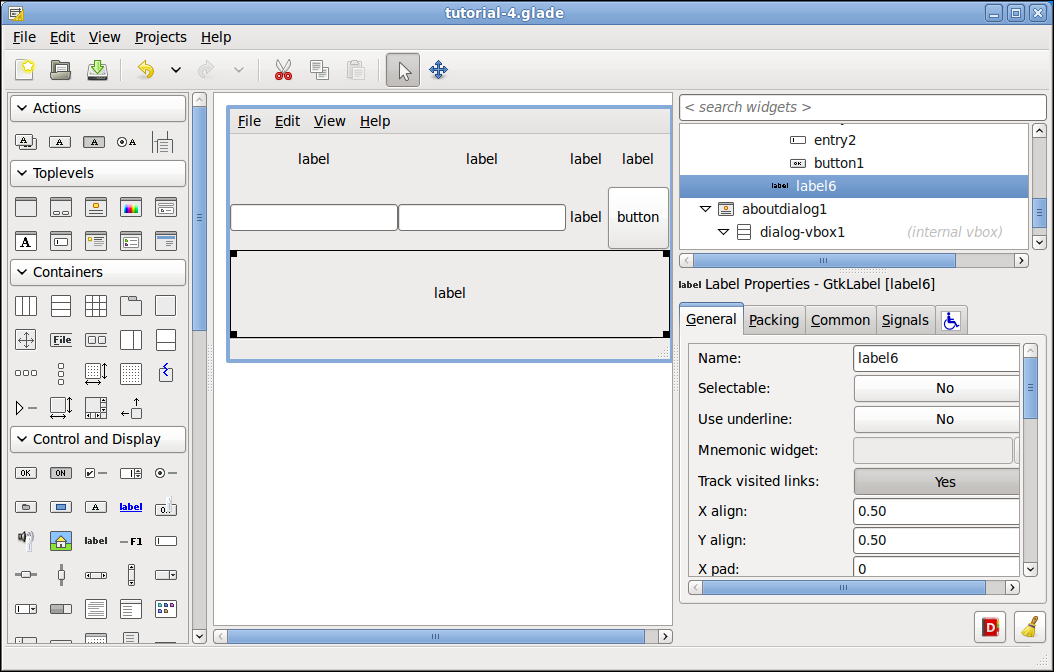
Next we will add some Label and Text Entry widgets and a Button widget as shown in the following image. Hold down the Ctrl key to select then paste multiple copies of a widget.
Your project should look like this now.
-
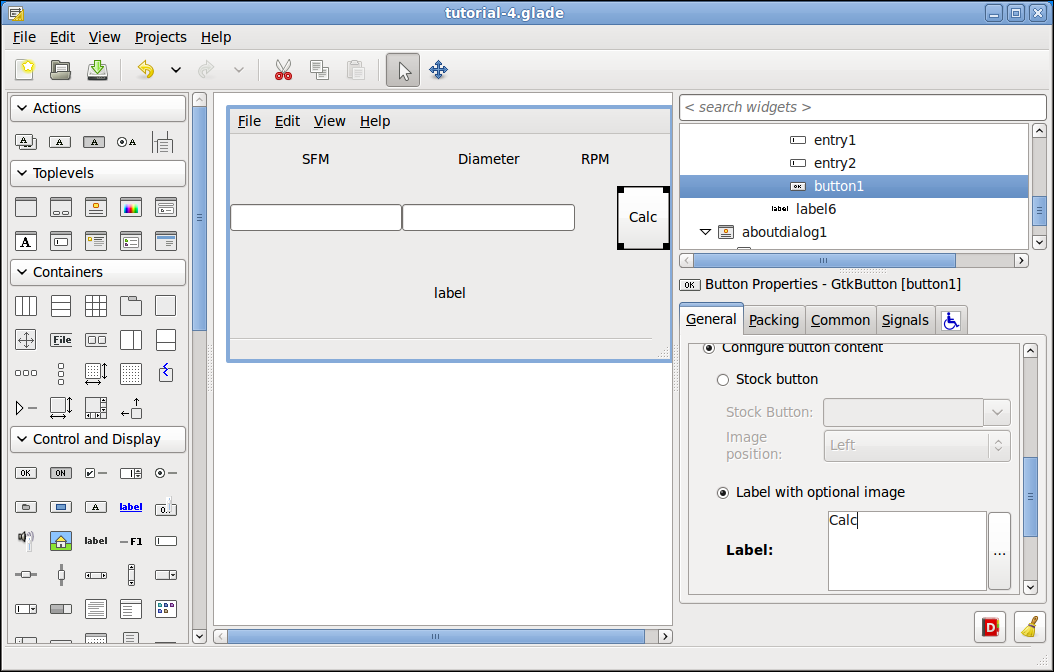
Next we will change the text in the Label: field of our labels and the button to match the following screen shot. Just delete the text from the two blank ones as they are just used as a filler.
Your project should look like this now.
-
Next we will add a unique name and a signal to our button.
-
Change the button Name: to sfm_button.
-
Add the on_sfm_button_clicked signal to the GtkButton clicked signal handler and don’t forget to press the enter key so the signal is saved.
-
Change the name of the blank label under RPM to result1.
Your project should look like this now.
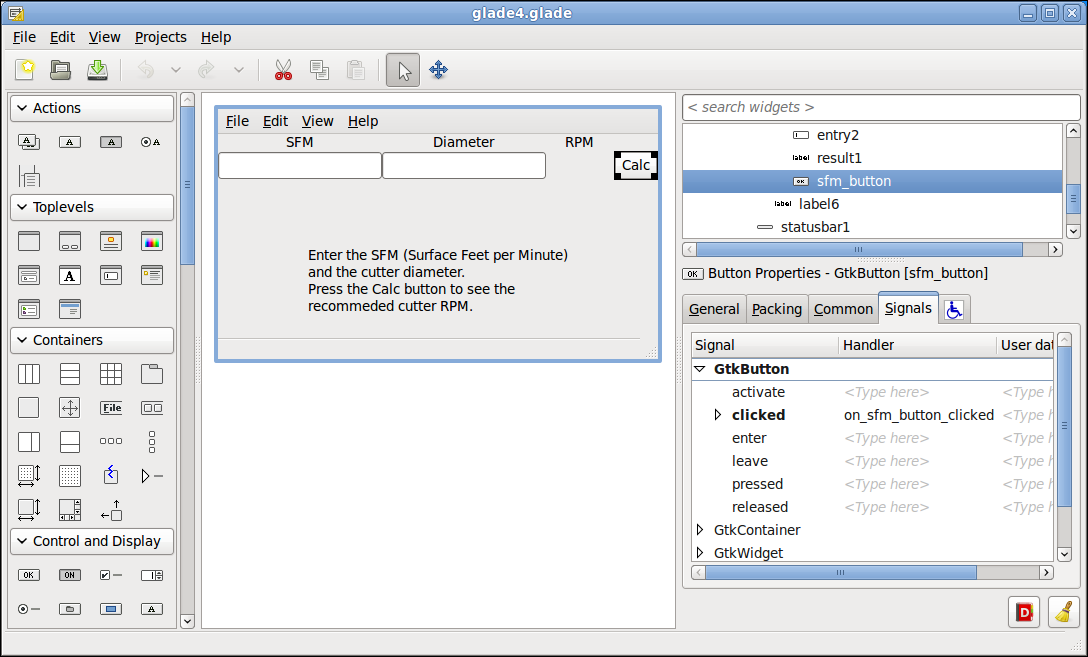
 Figure 1. Unsaved and Saved
 -
-
Now for some clean up work.
-
For each item in the table in the Packing tab de-select the Vertical options: Expand.
-
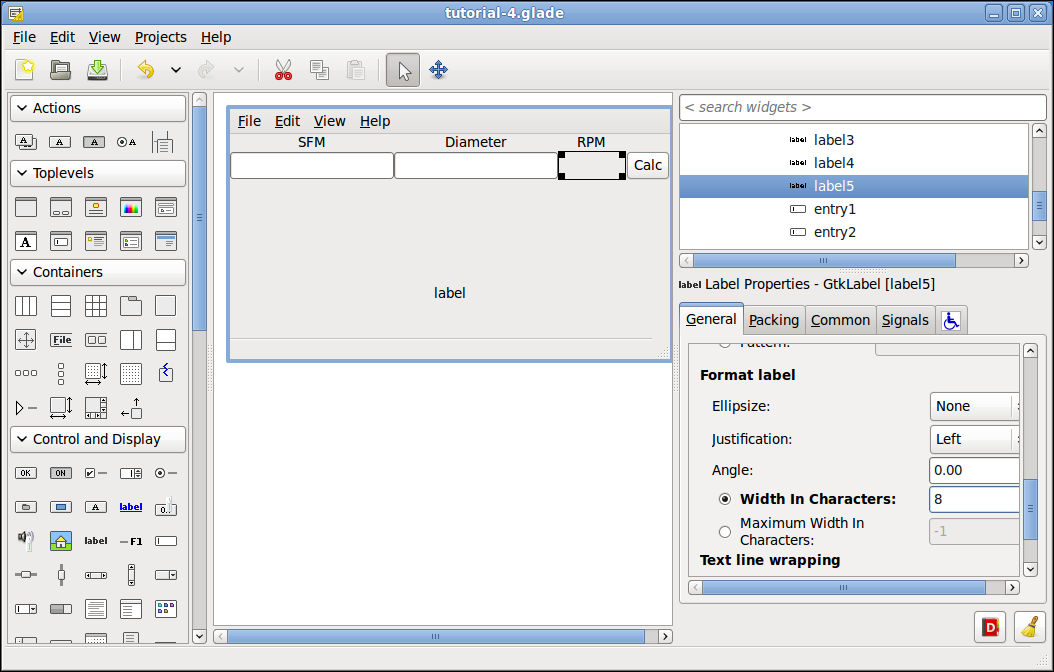
Change the Width in Characters: to 8 for the blank label.
Your project should look like this now.
-
-
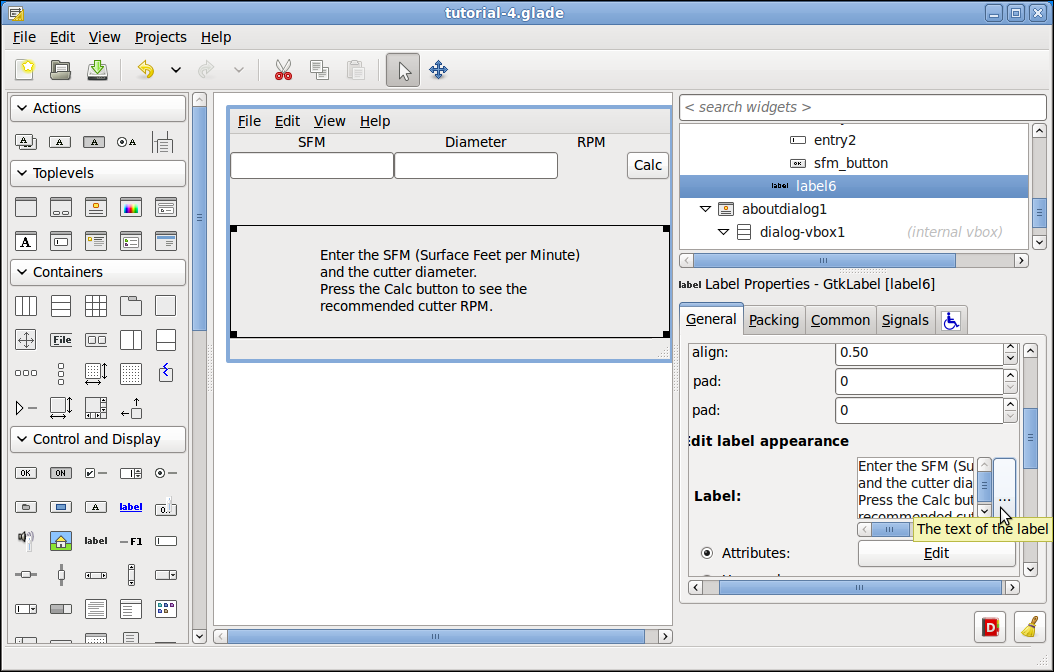
Click on the label in the bottom half then in the General tab under Edit label appearance click on the ellipse for the Label: box and add the following text.
Enter the SFM (Surface Feet per Minute)
and the cutter diameter.
Press the Calc button to see the
recommended cutter RPM.
Your project should look like this now.
Ok save the file as 'tutorial-4.glade and we are done.