Start QCad
When you open QCad up you are presented with a ton of things jumping out at you. The first thing you want to find is the origin marker on the drawing.

This marks the 0 point on the drawing. Unlike Cartesian space all dimensions are positive. So this means that you can draw anywhere you like on the page.
Lets make a simple drawing and learn the basic drawing techniques needed to draw most drawings.
On the left tool bar click on the "Line Tools" this tosses out a bunch of stuff so don’t be spooked. The first one we want is the "Vertical Line" tool. If you hover your mouse over each tool it will tell you the name of the tool. After you click on the "Vertical Line" tool more stuff flies out at you. These are the selection of how you want to "snap" the end of the line to the drawing. For now with and empty drawing we want to use the "Grid" tool. So click on it and then click on the origin. Hit the escape button or click on the "Reset/Idle" button just below the File menu item.
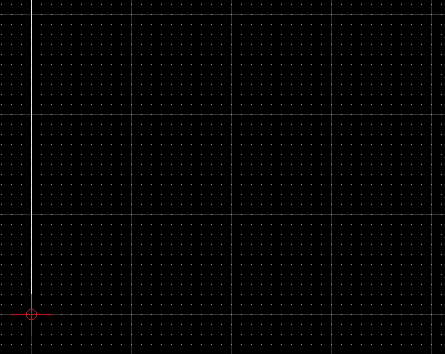
Your drawing should look like this with one vertical line that goes to infinity.

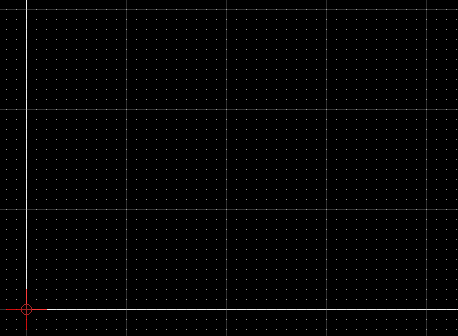
Now lets use the "Horizontal Line" tool and put a line from the origin.

What we have now is a base for our drawing. By using offset line we can create lines at at specific distance from the base lines. This doesn’t mean it will end up looking like a box but you have to start somewhere.
Parallel Lines
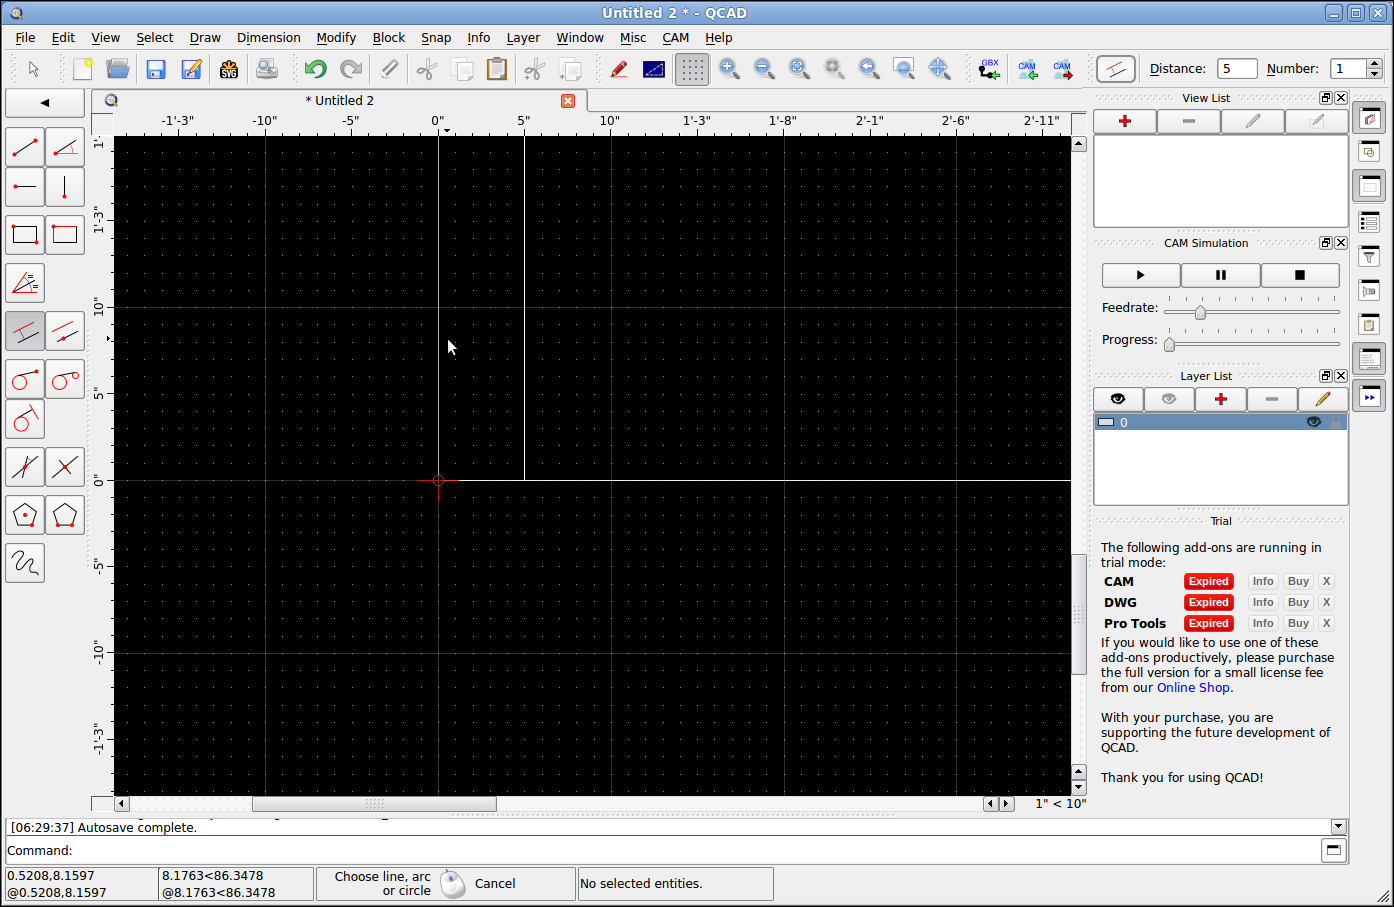
Select "Line Tools" from the base set of buttons and if it is not there click on the "Reset/Idle" button just below the File menu item. Next pick the "Parallel with distance" button. Make sure your screen is wide enough to show the distance and number options.

Set the distance to 5 and the number to 1. Move the cursor over the vertical line to see where the new line will be created. Position the cursor so a new vertical line is created to the right of the original line and click the left mouse button to create the line.

Do the same over the horizontal line to create a line above the original line. You can use the mouse wheel to zoom in a bit on your drawing and the sliders to center it up on your screen.

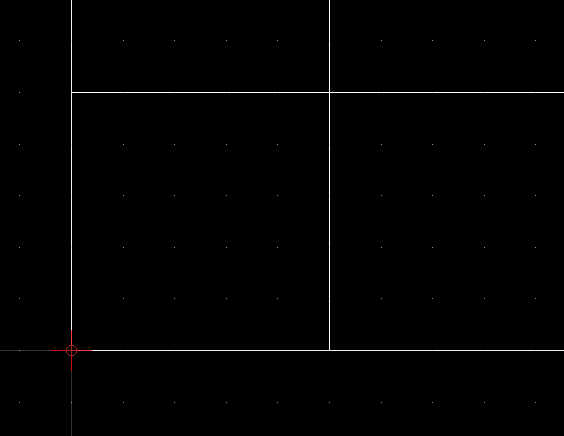
Now we have a 5" x 5" box with some tails left over. You can create the box any size you need to get your drawing done. Some lines are used to locate other lines or arcs as needed to finish your drawing.
Save your file it will be used in the next lesson.