Drawing to Points
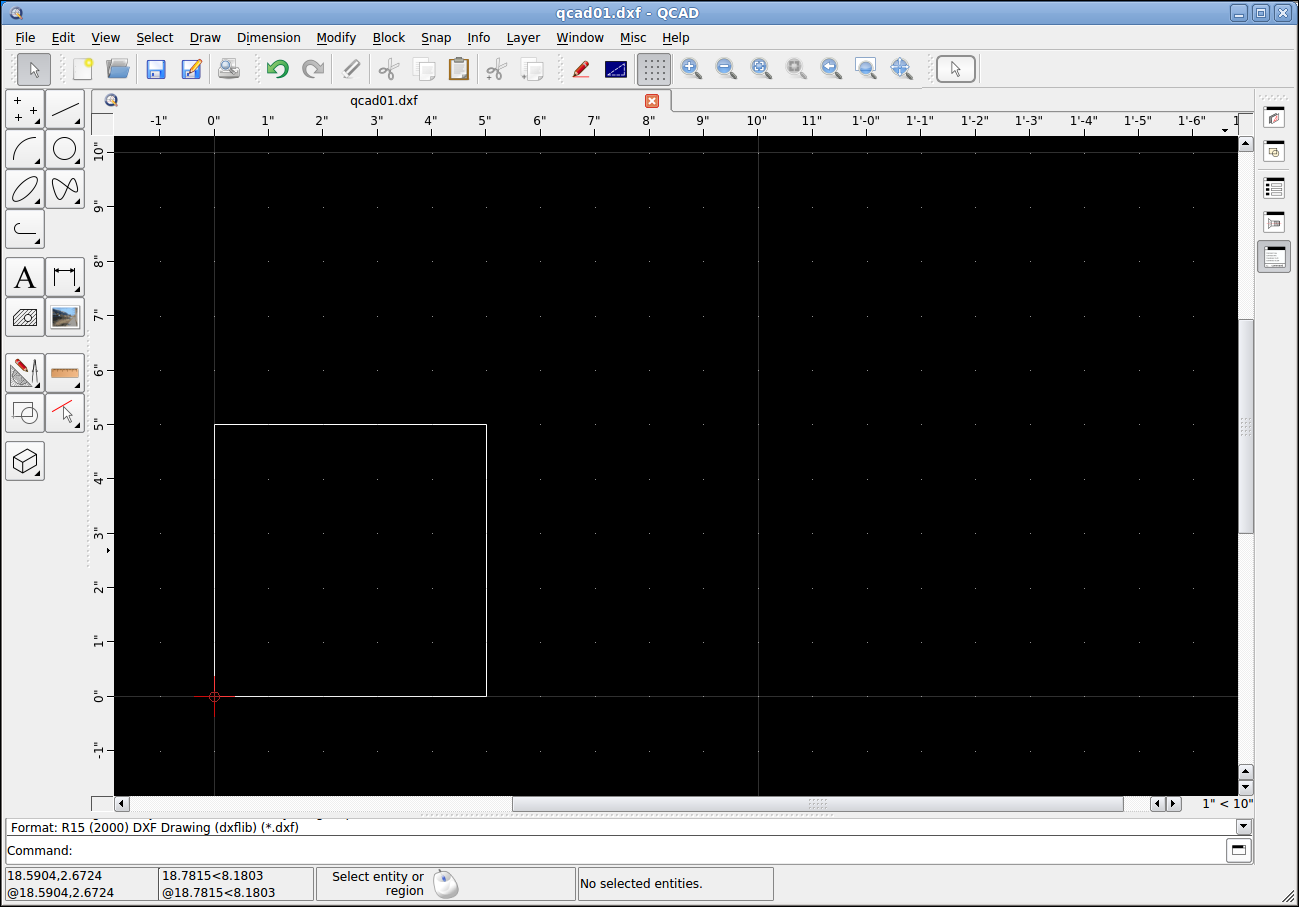
Open the drawing from the previous lesson.
-
Open the "Line Tools" toolbar.
-
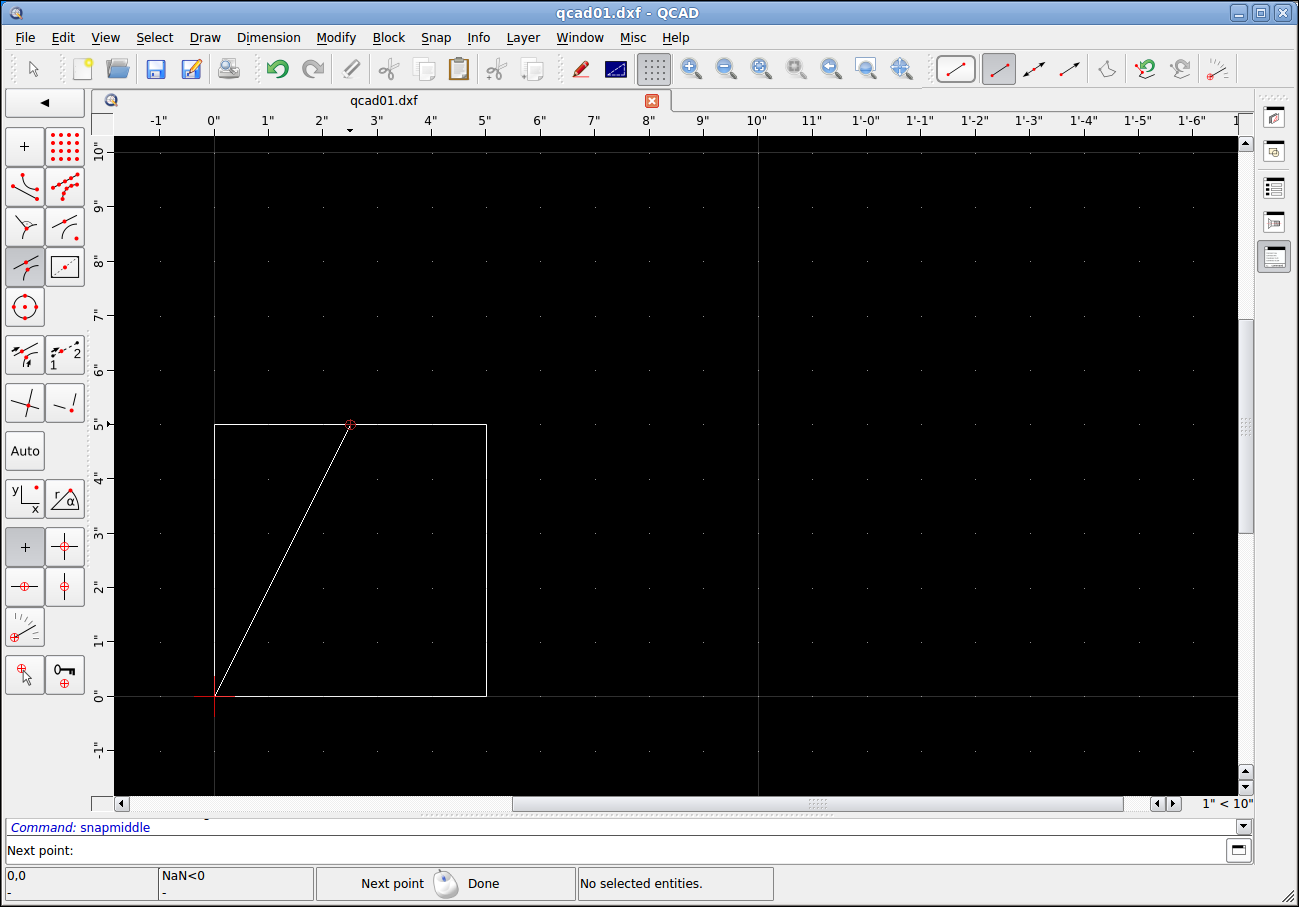
Pick "Line from 2 Points".
-
Pick the "End" snap.
-
Click on the lower left corner one time
-
Click on the "Middle" snap.
-
Click on the top line in the middle.
You should now have a diagonal line from the lower left corner to the upper middle.
Now repeat the process to draw a line from the top middle to the lower right corner.
-
Click on the top line in the middle.
-
Click on the "End" Snap.
-
Click on the lower right corner.
-
Click on the "Reset" button.
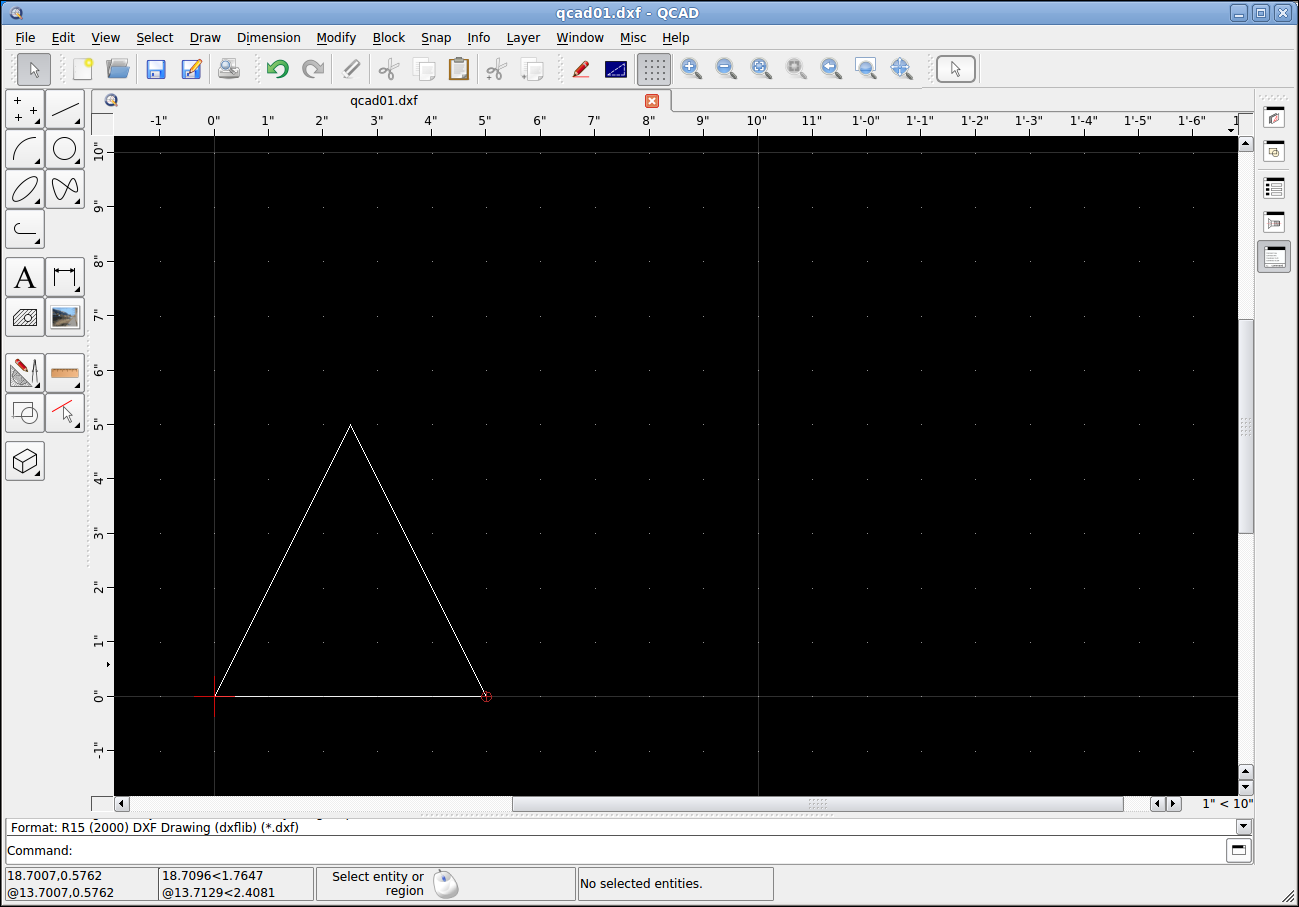
You should now have a drawing like this

Next lets delete the construction lines we used to create the triangle.
-
Press and hold the shift key while clicking on each of the lines we want to delete. The top line, the left and right vertical lines.
-
You can either click on the sissors or just press the delete key on your keyboard.
You should now have the following triangle.
Save the file for the next lesson.