Stand Alone GUI
Creating a Stand Alone GUI
In this part of the tutorial we will learn how to run our GUI stand alone using an ini file to load the GUI. We will learn how to use the linuxcnc stat() function to display status information in our GUI. Although this will not be a fully functional GUI we will be able to open a G code file, see the back plot, run the G code file, and see the axis positions update on the DRO tab.
-
Open up gui2.glade and save as gui3.glade.
-
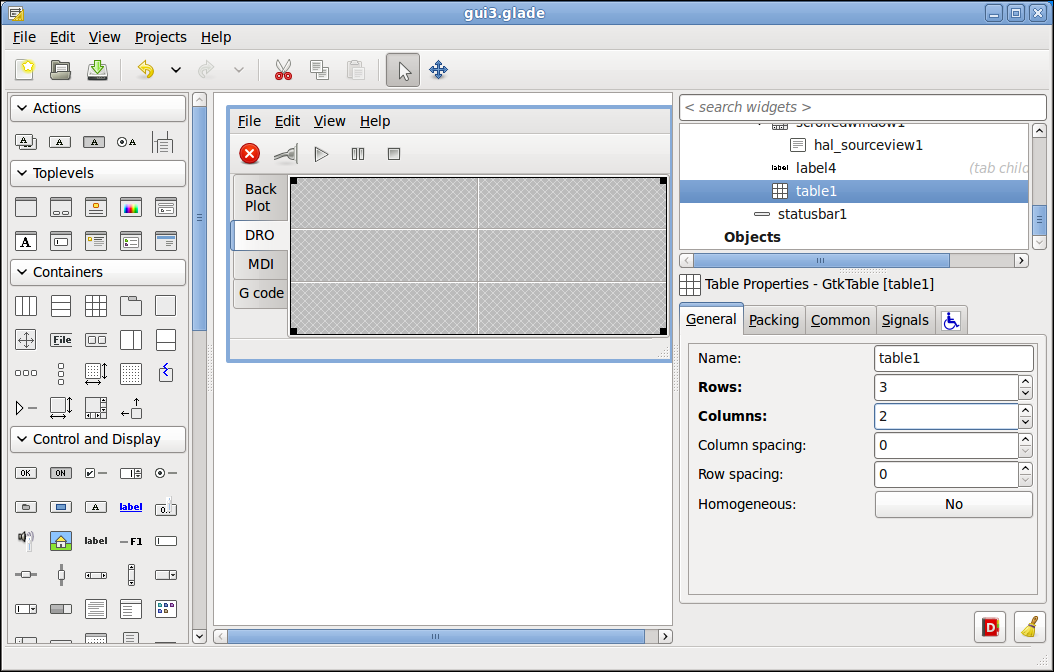
Go to the DRO tab and remove the label in the center. Add a table with two columns and three rows.
Your project should look like this now.
-
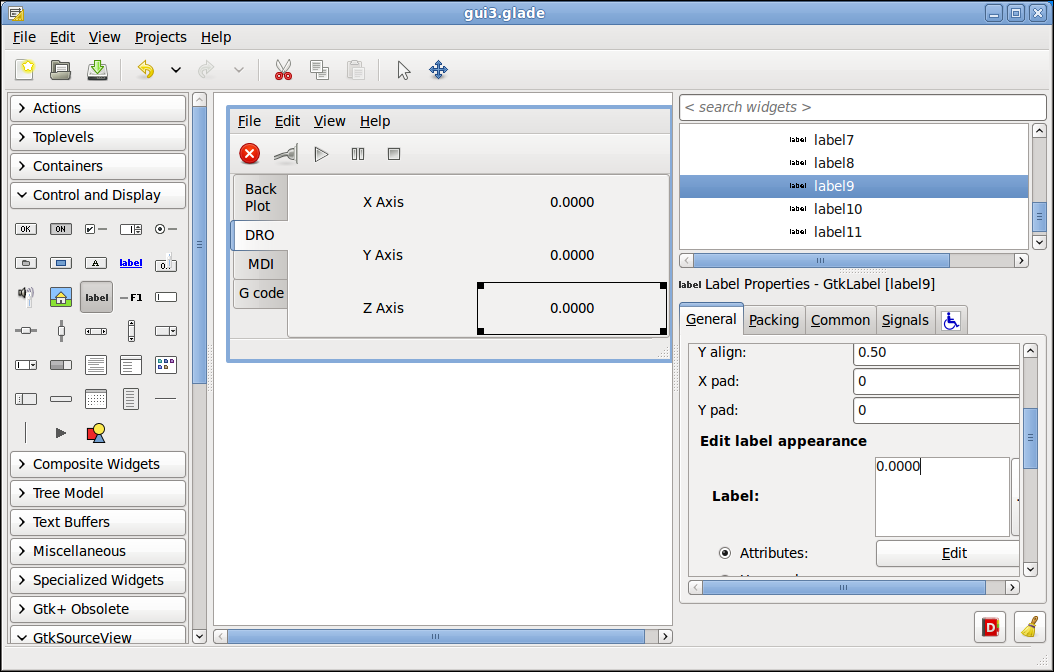
Put a label into each cell of the table and change the text to match this image. If you press and hold the Ctrl key then click on the label you can put multiple copies of the label.
Your project should look like this now.
-
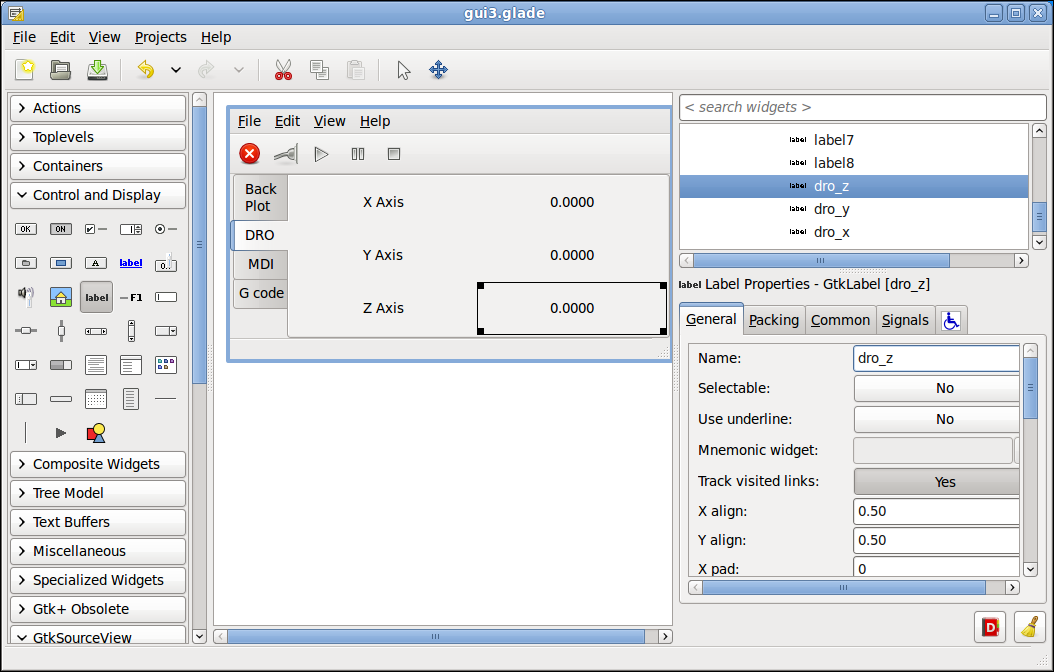
Change the Name: of the labels on the right starting from the top
-
Name: dro_x
-
Name: dro_y
-
Name: dro_z
Your project should look like this now.
-
Save your glade file.