Part 6c Create the Python File
Create New File
Create a file in our configuration directory named gui6 with no extension. Copy the following into the file and save it.
#!/usr/bin/env python

# import libraries
import gtk
import sys,os
import linuxcnc, hal
import gladevcp.makepins

# set up paths to files
BASE = os.path.abspath(os.path.join(os.path.dirname(sys.argv[0]), ".."))
libdir = os.path.join(BASE, "lib", "python")
sys.path.insert(0, libdir)
datadir = os.path.join(BASE, "share", "linuxcnc")
xmlname = os.path.join(datadir,"gui6.glade")

# main class
class gui6(object):
  def __init__(self):
    self.builder = gtk.Builder()
    self.builder.add_from_file(xmlname)
    self.builder.connect_signals(self)
    self.window = self.builder.get_object("window1")
    self.halcomp = hal.component("gui6")
    self.panel = gladevcp.makepins.GladePanel(self.halcomp, xmlname, self.builder, None)
    self.halcomp.ready()
    self.window.show()

  # create methods to handle the signal handlers

  def on_window1_destroy(self, widget, data=None):
    print "quit with cancel"
    gtk.main_quit()

  def on_menu_quit_activate(self, menuitem, data=None):
    print "quit from menu"
    gtk.main_quit()

# run the program
if __name__ == "__main__":
  app = gui6() # initialize an instance of the gui6 class called app
  gtk.main() # start monitoring signals from our program
-
Save the file and copy to the installed directory.
sudo cp gui6 /usr/bin
Create a Desktop Launcher
-
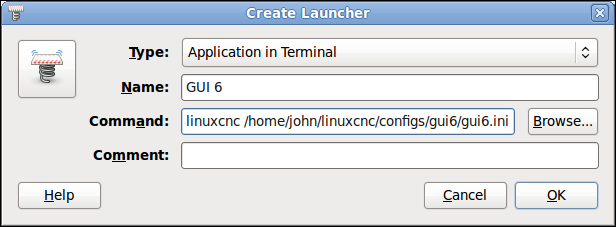
Right click on the desktop and pick Create Launcher.
-
Change Type: to Application in Terminal.
-
Add a Name: to the Launcher like GUI 6.
-
Browse to the linuxcnc/configs/gui6 directory and pick gui6.ini.
-
Add linuxcnc and a space in front of /home then click OK.
Your Create Launcher should look like this now.
Run the GUI
At this point the GUI should run from the desktop launcher. If it does not run copy the launcher command to a terminal and run to find the error. Although the GUI does nothing much at this point it is the base for the rest of the tutorial.
Your GUI should look like this now when you run it.
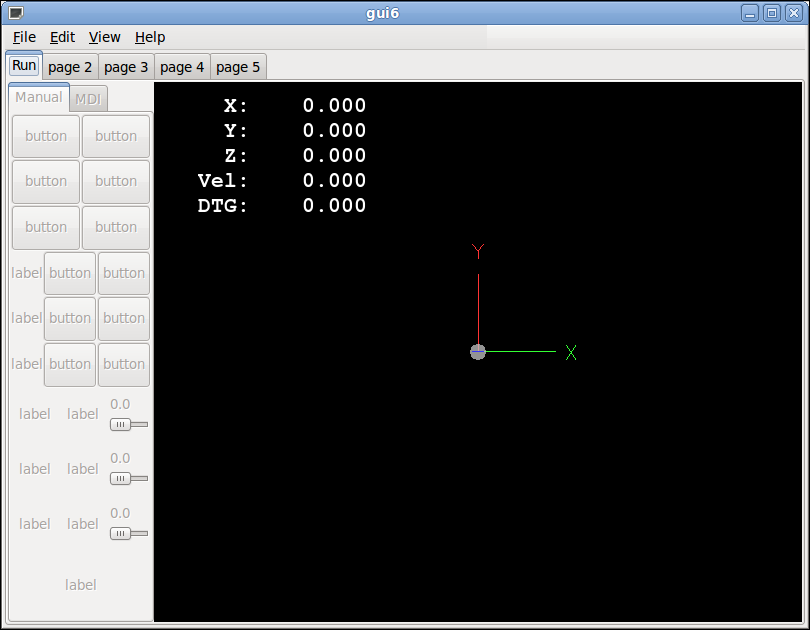
Notice how the Manual and MDI tabs are not selectable. That is the HAL_HBox Container which defaults to off. When we add the E Stop and Power buttons to the button bar we will use the status of them to turn on and off the HAL_HBox Container. The HAL connection will have to be done in the postgui HAL file.